Need a walkthrough for Act 3 in Scorn? You've come to the right place! In this Scorn guide, we'll reveal how to complete the puzzles in Act 3, and we've also provided images to help you along the way. In Scorn, this part of the game is known as "Act III", which you'll notice when you go into the save game screen.
This Act 3 walkthrough will also reveal how to solve the turning node puzzles, how to get a health refill in Scorn, and how to get the pistol in Scorn, and again we've provided images to help you with these. It's a chunky old level!
Scorn: Act 3 Walkthrough
Note: Act 3 (III) is a fairly long act and so we've broken it down into a handful of parts in order to make it all a little easier to digest.
Act 3 Part 1
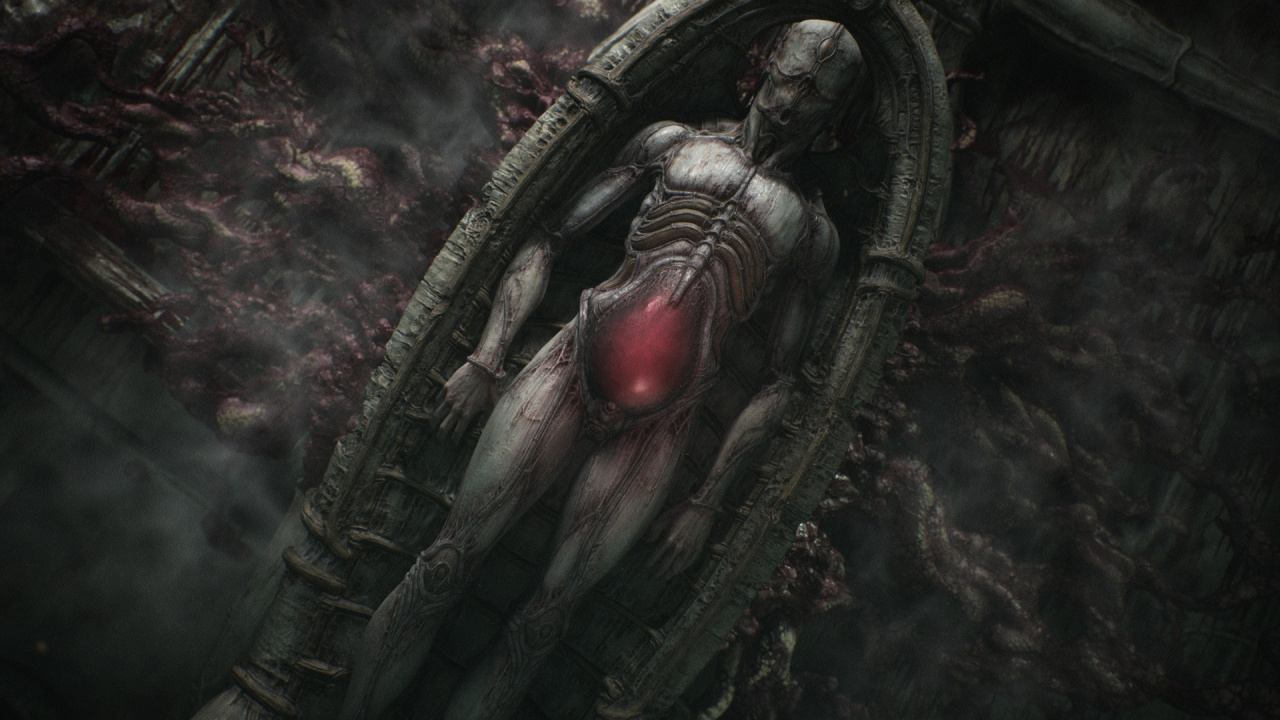
Head down the corridor from Act II now until you reach a lift, take it up to the next level and you’ll find a machine straight ahead that give you your first health refill of the game. Hold in RB to boost your health up as needs be from this point on.

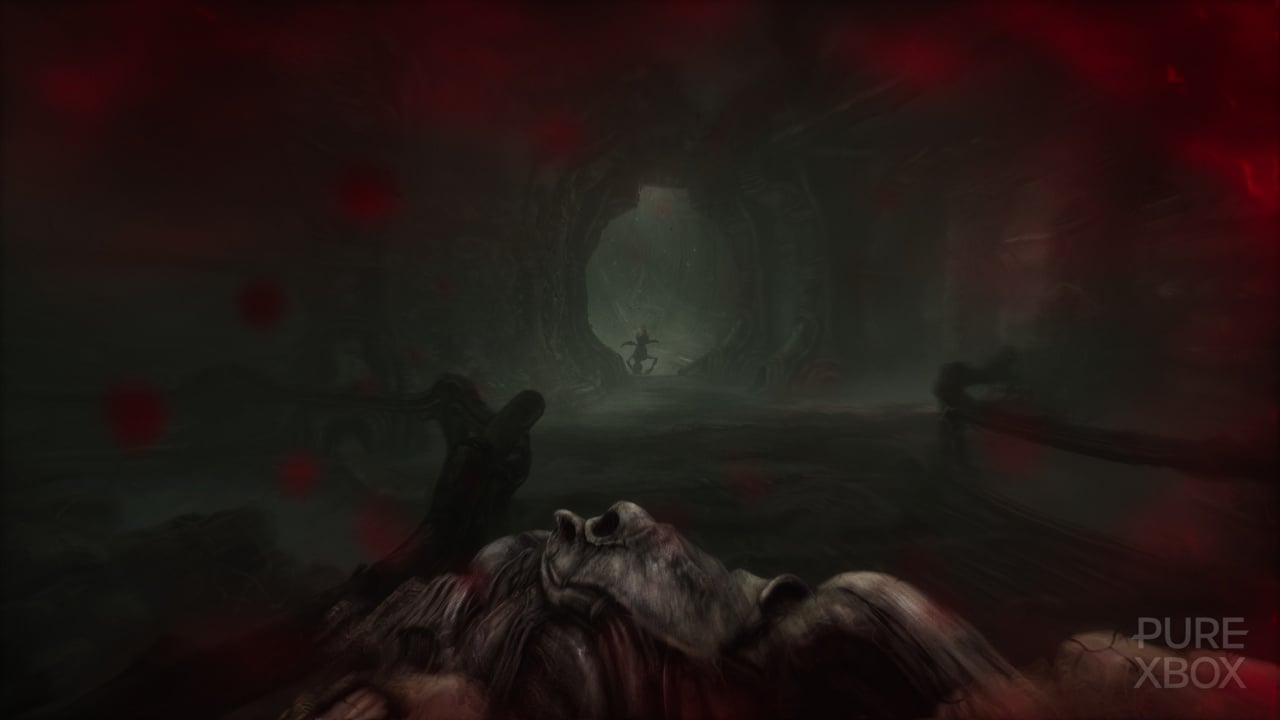
Head on along the only open corridor now and through the door, we’re back in the area with the spiral tower from Act 1. Head right and you’ll come to another door and a lift. Head down in the lift. You’ll come to an area with a door to the left that needs your key to have two lights in order to open it. Head off to the right and you’ll be treated to the view below and catch a glimpse of a moving creature, these guys are going to start causing trouble soon enough.
Turn around from here and head down the first corridor to the right and you’ll reach the area shown below where we’ve got a machine that gives your door key the second light that we need, so now we can head back up to that door at the lift, enter here and prepare to meet your first enemy who’ll harmlessly crawl into a hole, so no sweat yet.
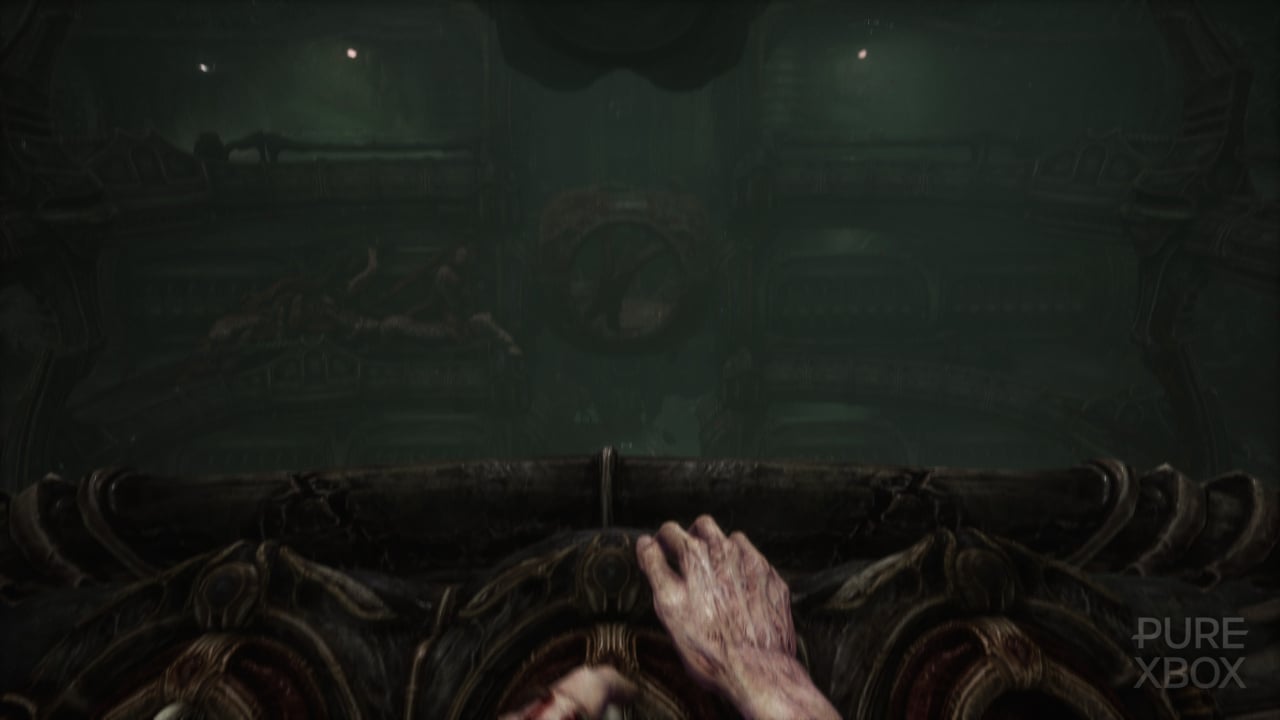
Interact with the console here to turn the large metal wheel around, we want to turn it so we can access the bottom floor for now and head on through. In the next area you need to interact with another console to move another large wheel so the opening sits at the top along the balcony above. Once you do this an enemy will emerge and spit acid at you if you hang around, so leg it back to the first console to turn the first wheel again so that its opening is also positioned along the balcony along the top.
As you head back out and up the ramp to get upstairs you’ll meet another spitting enemy, at this point it’s best to back off and wait then, draw it out from the doorway and then run past it when you can. Don’t worry too much if you take damage here, just patch yourself up and move on, it’s futile attempting to attack these enemies with your current weapon.
Now head down the ramp directly in front of the lift, you can now turn right at the end of this corridor and head through the gaps we’ve opened up in those huge wheels. Keep on moving through both openings and turn left into a large area with a console and a round lift device in it.
Interact with the console to move the round lift to the left, then head up the ramp and into the lift which will take you on a short trip to the area shown below where we have yet another console and lift. Interact with this console to shake it free of the growth around it and you’ll also notice a claw device shifting around on the ceiling.
Head past where the round lift device had previously been sat and down the corridor, there’s another spitting enemy here but just draw him up to the top of the corridor and then sprint past. Now head right and then right again through some very meaty looking corridors. Keep on moving around and down here and you’ll eventually come to a large area with the device we’ve pictured below. What we need to do here is use all of this tech to get ourselves sorted with a lift out of this area. If you head over to the console and have a toy around you’ll get a feel for how this machinery operates, with a large grabber that swings to the left and the right. We want to head off to the left now to find something for it to grab onto!
Act 3 Part 2
Head left from the large grabbing device and then head left at the junction below to find the console pictured, interact with it and the machinery in front of you will go through its motions, this is where we need to place a new ball-shaped pod in order for us to exit this level. Leave this area now and continue down the ramp and left.
Go straight through the doorway ahead that we’ve pictured in our first screen below, then turn right out of the pod then up and around following the only path forward until you reach the console shown below. Interact with the console here to release a lift pod that will head up past you. Now keep on heading right in this small room and you’ll be met by an enemy. Draw him out to the space at the console and then run past him and take the path to your right.
There’s another health refill point here so juice up and then head left. Keep on following the path here, past the lift pod and to the right and you’re gonna come to a large area with a few enemies in it. There’s a flanking path to the left here that takes you around this room and out at the far side and we need to get to the doorway that’s on the far right side, so use the flanking corridor and be patient, drawing out the enemies here and sprinting past them to make it to the doorway undamaged if you can.
Once you reach the doorway and head through, you’ll meet another enemy in the tight corridor here. Let him drop down from the ceiling then backtrack out to draw him into the large room then sprint on back through the corridor again once it’s clear.
In the next room there’s a long tentacle enemy hanging from the ceiling, watch out for his spit attack and just leg it through here to the right as quickly as you can. As you head up the ramp you’ll encounter yet another spitting enemy, draw him out and run past when you find the space. Now keep heading up and around to reach the console we’ve pictured below. This will draw our lift pod up even further.
You’re going to want to head around to the right here once again but as soon as you’ve interacted with the console you’re gonna be attacked by a couple of enemies so backtrack a little, draw them out and then make your move to get past. Again, don’t worry about getting hit here, it’s very hard to avoid, so heal where necessary and push on. Leave these enemies alone for long enough and they’ll crawl into holes and disappear so it’s best to be patient and stand off as you lack the tools to actually kill them at this point.
Once you get past here and around to the right, you’ll come to a large open room with a lift pod to the left and three consoles straight ahead. The first console on the left has a key inserted into it and so we can use that to open up a path at the top right across the way. The lift pod opposite us will now begin to move up and down and we want to get into it and head over to the path at the top level that just opened up.
Now over this other side we need to be quite careful as there are a number of spitting foes and not much room to manoeuvre, but we also get our hands on a weapon that can actually kill them now. Head into the room shown below to grab the Pistol. Directly opposite the pistol is an ammo dispenser too, so load up on bone pellets. Yuck!
As soon as you’ve done this, three enemies will appear. We suggest just moving back towards the lift to give them time to disappear, or you can test out your new gun on their heads. Once they’re dealt with, head around further into this area to find the machine below which is a puzzle requiring you to light up all of its points.
As you rotate this puzzle you’ll notice that the pistons connecting the wheels will disengage at points. Use this to turn the wheels individually in order to get them into the correct positions to have all the lights lit at the same time. It’s a pretty simple puzzle when you figure out to manipulate it and once you complete it, you’ll be rewarded with a key for the second console back in the last area. So head back there once you’re done. Once you’ve inserted this key we’ll open up a path to the right on the second level ahead so let’s jump back in the lift pod and head down there. Phew!
There’s a large area to your left here with multiple foes hanging around but just bolt past it and head off to your right where you’ll need to do another light puzzle like the one we just completed in order to get our third key. There’s also a health refill station here and a few enemies knocking around so take care.
Once you’ve got the key from the puzzle get back to the lift and up to the console, the other path in here with the tentacle enemy is a dead end, so ignore it. You’ll now open up a final path down to the very bottom right side. Let’s once more jump into our lift and head down there.
You’ll find you’re back in the earlier area now and we can move over to the console we checked out before, time our interaction and grab our moving lift pod. It’ll now be transported off to the right. So let’s head that way. Interact with the top part of the grabber console here first to shift the lift pod to the right. It won’t settle into its spot yet, so now let’s use the front part of the console. Before you do this you may also want to leave the console and head off to the far right into the next area to find a handy health station.
Now head back and interact with the console and it will lift the entire platform we’re on up to a higher level. Use the rear console again and it’ll place the pod into position. Move over to the right now and use the console here to position the pod so that you can get into it. Travel around in the pod and jump out into an area with an ammo refill station, get geared up and follow the only available path around and down, taking it slowly here to avoid arousing the attentions of spitting enemies.
At the bottom of this corridor you’ll find an enemy blocking your path to the left, draw him towards you to make space to sprint by or kill him, up to you! Head on along the corridor now, through the broken pod and then left down a very gory corridor until you come to the console we’ve pictured below. There’s nowhere else to go in this room so hold "Y" to bring up your inventory and then press left to switch to your tool weapon and interact with the console and open the gate to your immediate right.
Head through here and follow the only available path into the next room where you need to look out for a new enemy who will charge you. Let it charge and then run through the entry where it emerged into the room. You’ll come to another console this way that you’ll want to use to open yet another gate. Once through here head around the only way forward, you’ll eventually come to an area with a rotating wall, as shown below, that we need to turn in order to advance.
Head over the the other side of this room and you’ll find a lift tucked into the very corner, have a good look around as it can be tough to see. At the top of this lift you’ll find a door that requires three lights on your key to open and, in the other direction, a console to move that rotating piece of wall downstairs. Let’s get it moved and head back down, being aware of the spitting enemy that’s now walking around down there.
Go through the now opened wall and head along until you reach the room with the glowing red organic material we’ve pictured below. There’s another console in here to open a gate up, so use it. In here you’ll find the console required to upgrade your door key to three lights. Now head back the way you came and watch out for the stampeding enemy you’ve unleashed as you do. Again there’s no point bothering with this enemy type right now, your pistol is weak against it so just avoid and sprint. Head all the way back to the lift and up to the door with the three lights which we can now enter. Use the health refill point here if you need it then head into the lift pod straight ahead.
Act 3 Part 3
Now, we’ve exited the lift pod and there’s a path ahead with a dangling tentacle enemy and a path off to both our left and right behind the pod. Let’s shoot the tentacle and get it out of our way. Aim for the orange glowing spot and pop that sucker.
Head down the centre corridor past the dead tentacle and hook around to the right. Keep following the path and you’ll come to another pod landing area that’s overgrown with gross alien gunk. Gross. Head left past this overgrown pod and you’ll come to a charging enemy, head right and you’ll end up back at where you disembarked your pod originally. So let’s draw the charging enemy out and proceed that way.
You’ll come to another pod bay here, this one is empty, and the way to the left is blocked off so let’s head down the middle corridor, keeping an eye out for that charging enemy if you haven’t killed him yet. Jump into the lift here and head down to Act 4. Nice job!
Did you find our Act 3 Walkthrough for Scorn useful? Check out our full Scorn guide for more help with completing the game, including all acts and puzzles.


Comments 1
Would add an amendment to say that you should grab the pistol BEFORE getting the health in the same room. Won't let you access it again to get ammo if you get the health first. Would be useful for others that make my mistake haha
Show Comments
Leave A Comment
Hold on there, you need to login to post a comment...