The Xbox One June System Update is now live, and it gives you the ability to add external storage to your Xbox One console. All you need is a USB3.0 compatible external drive which is 256GB in size or larger, and you're away. But, how do you set it all up?
Well, let us show you via the medium of dance. Or just with some screenshots and things.
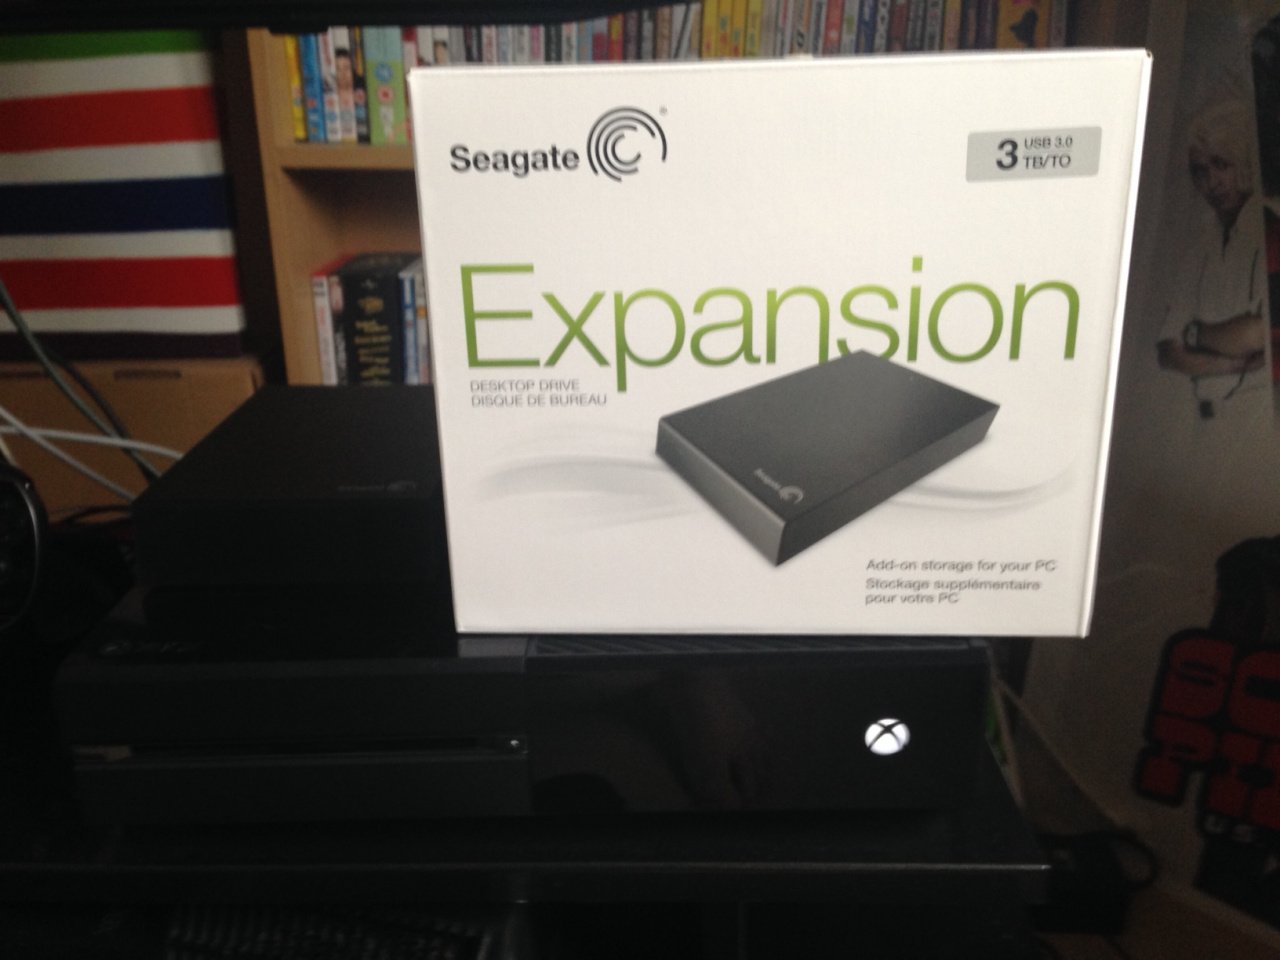
1) First off, you'll need a drive. We're going with a 3TB Seagate STBV3000200 external drive (pictured right) in matt black, so it sort of matches the console. All you need to do is connect up the USB cable between the drive itself and your Xbox One console, and (if required) plug the drive into the mains.
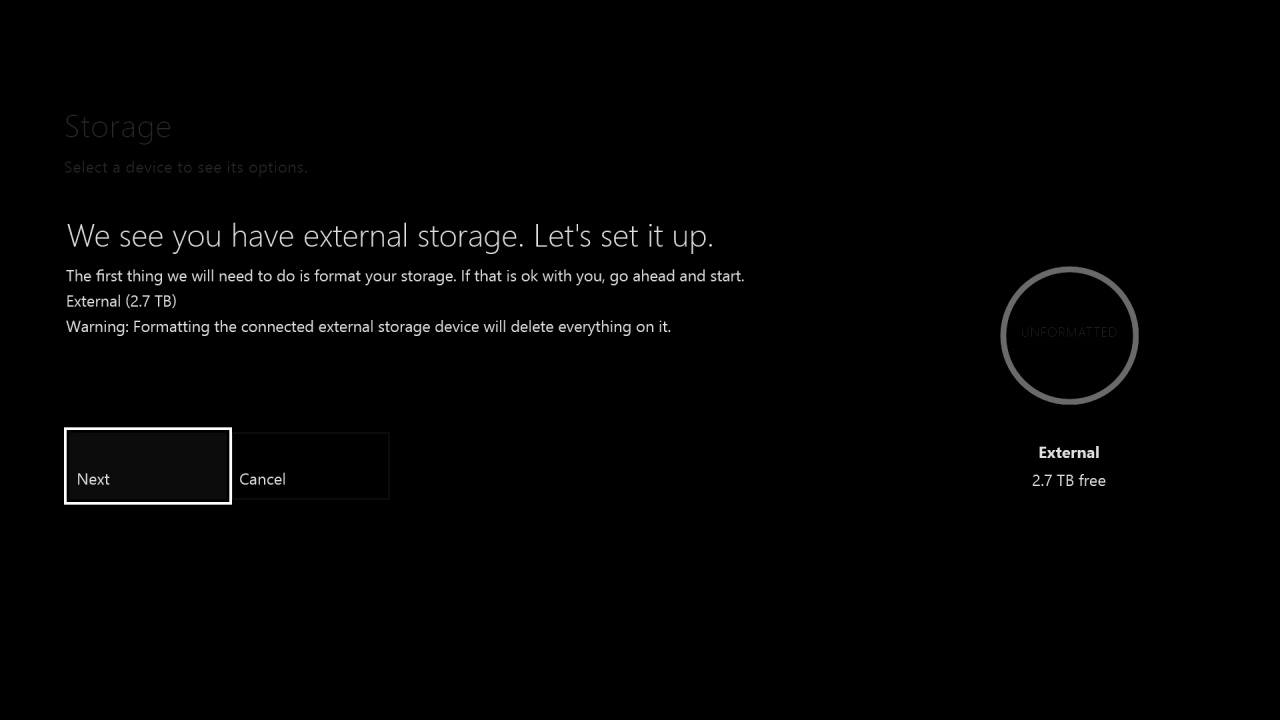
2) The Xbox One should prompt you to set up your storage automatically. If it doesn't, go to Settings, then System, then "Manage Storage." Highlight your new drive, and select "Format."
Whether you have to get there manually or not, you'll reach the following screen.
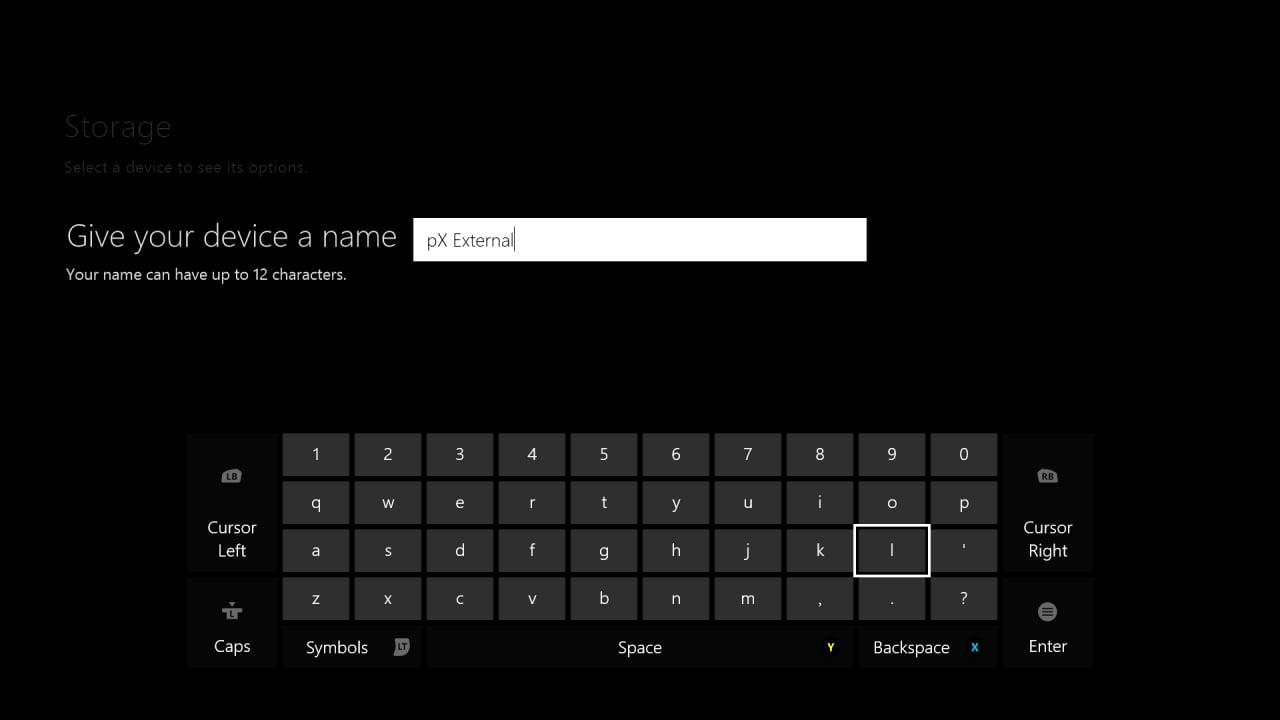
3) Hit "Next" and you'll be prompted to give your device a name, as below. This is simply so that you can tell the difference between any drives you add. Note that the internal drive that comes with the system will always be called "Internal" and it cannot be changed.
4) Once you've done that, you'll be asked if you want to install things on this drive by default. If you select "Install new things here", every time you download something or install a game, it will be put on to your external drive. You can move it later (find out how) but it'll initially be installed on your external drive. Choose one option or the other, depending on your preference.

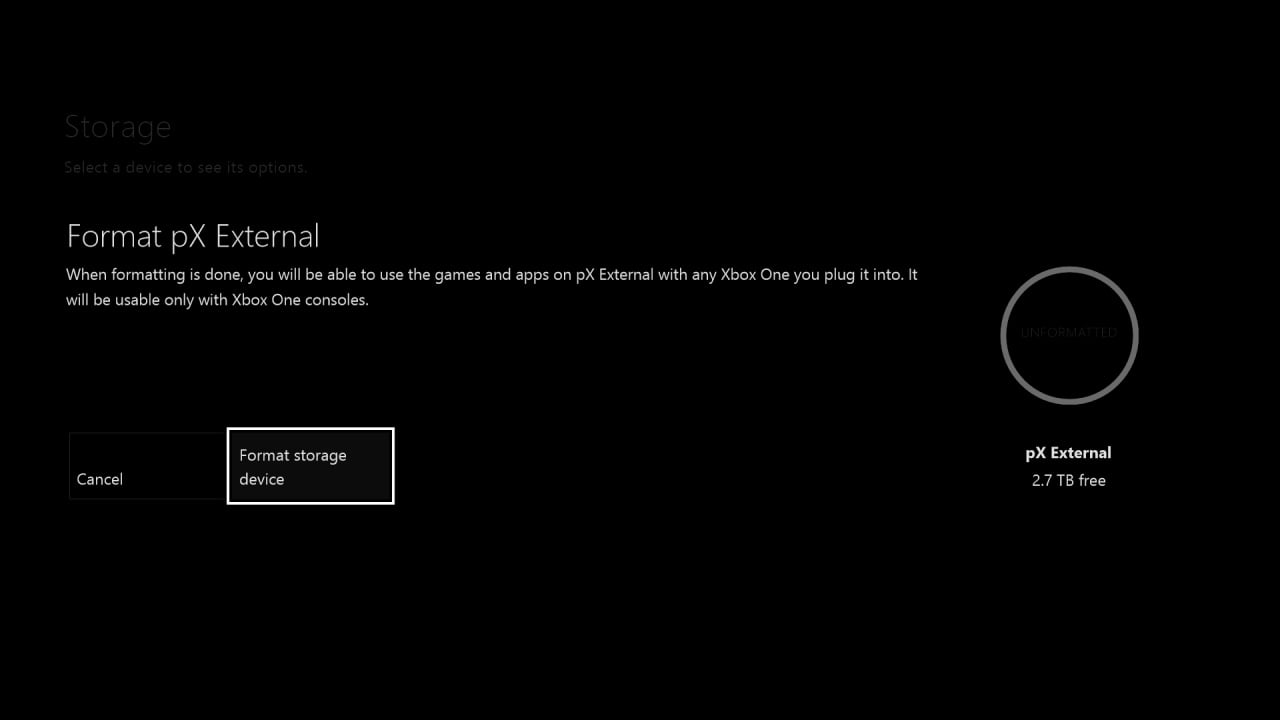
5) Select "Format", and get ready to let the good times roll, as we're almost there...
6) You're done! A notification will pop up to tell you that you're good to go.

It's that easy. Once you've got your storage all set up, you can start moving things to your external drive via the Games & Apps menu, or downloading things to it right away.


Comments 4
Easy Peasy
so, all hdd work or do you need one with its own power supply?
@hydeks As long as it's a USB 3.0 drive that is 256GB or greater in size, it'll work. I only mentioned the power supply as most drives that fit that specification will come with a power supply, is all.
@SuperKMx ahh cool, thanks!! I like that better then the way Wii U has it setup then, cause the only use external hdd that you need the power supply for
Show Comments
Leave A Comment
Hold on there, you need to login to post a comment...