
Looking for a Halo Wheel Puzzle Guide for Resident Evil 4 Remake? As part of our Resident Evil 4 Remake Guide we'll be walking you through this puzzle with step by step instructions and screenshots.
This puzzle takes place in the castle area of the game and requires you to find a Halo Wheel piece in order to elevate some platforms in a large room and keeping pushing forward. You'll also be required to protect Ashley as she heads off across a section of the room to help out, so make sure you've got your shooting boots on, stranger.
Subscribe to Pure Xbox on YouTube30k
Ok, let's get started.
Resident Evil 4 Remake: Halo Wheel Puzzle Solution
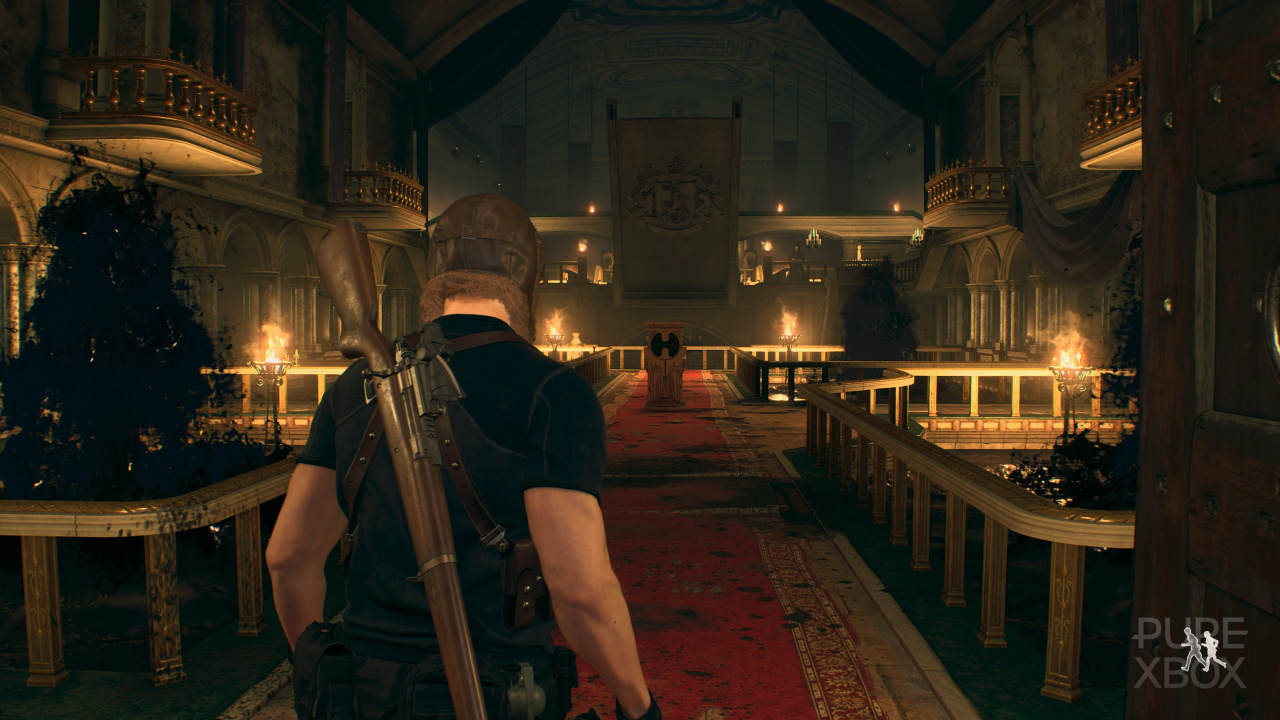
Entering into the room straight off here you'll see a mechanism ahead that's going to require the use of the Halo Wheel in order to elevate some platforms so that you can reach the main door at the far side.
Unfortunately for us, this area is absolutely crammed full of Ganados who'll make their presence known as soon as you start moving around the area. So, first things first, gather as much ammo and items as you can from vases and lying on the railings around the room then get to work dispatching all of the enemies, including a few ranged snipers in order to clear the upper area.
Once you've defeated the mob, you can move to the far side of the room and down some steps to the left in order to jump down to a lower area, which is also packing quite a few Ganados. There's an explosive barrel or two to make use of in your fight down here, so get busy taking out your foes and clearing the place of danger.
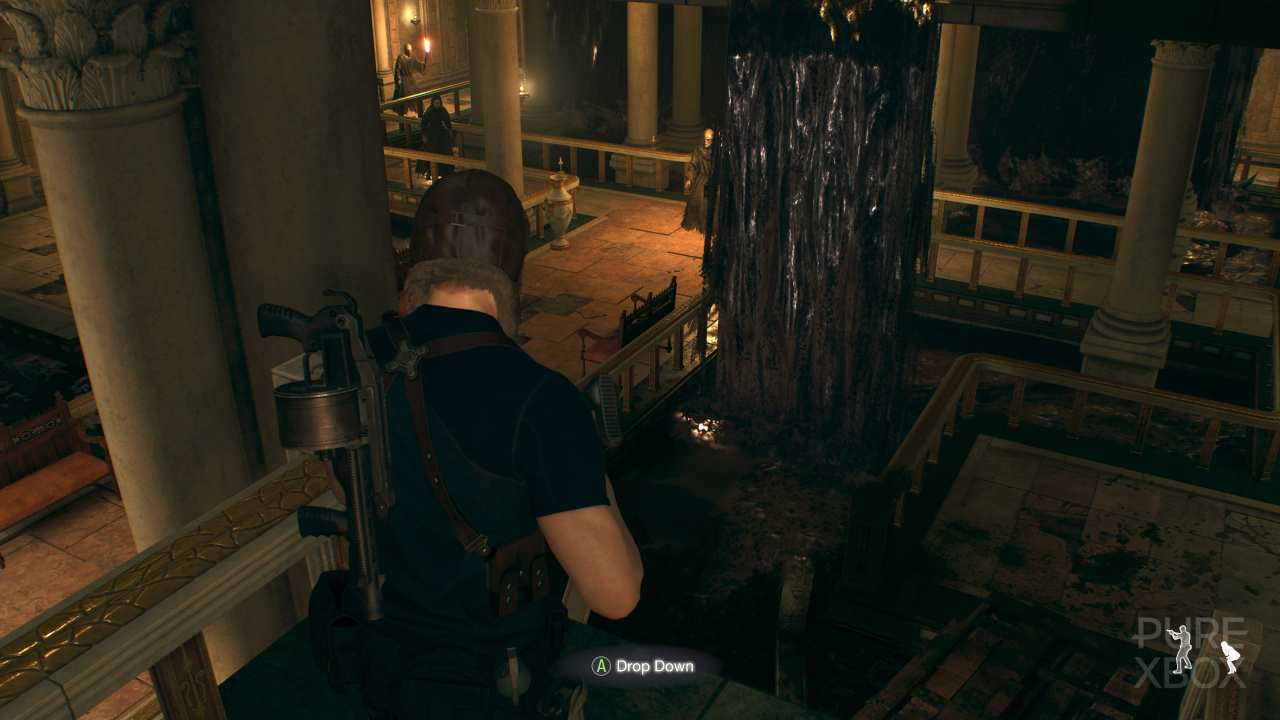
Once you're in the clear, head to the statue at the centre of this lower area to retrieve the Halo Wheel. Once you've got it, use it on the nearby mechanism to lower some steps back up to the top level.
As soon as you venture up these steps you'll come under attack from some foes again, including a few arrow snipers from the right. So stock up, heal up and prep for battle. Once you're done, you can use the Halo Wheel on mechanism on the upper level.
Now that we've got some platforms raised, we need to send Ashley up at the wall with the black marks on it so she can raise the rest of the bridge to the next area. Once she's up and running, you're going to need to protect her by shooting a fairly relentless barrage of enemies. Blast away at anyone who gets near her and remember you've got limited time to take out anyone who mages to start carrying her away.
You'll need to keep an eye on your own surroundings here too as a few enemies will begin to attack you on the lower area, so keep them well back and under control as you continue to monitor and protect Ashley. Once she's done, she'll jump back down and you'll finally be able to make your way out of this room.
Make sure to collect any items or ammo that's laying around before you proceed to the next area. Good job!


Comments 0
Wow, no comments yet... why not be the first?
Leave A Comment
Hold on there, you need to login to post a comment...